
 As promised.. Here's my tutorial on how to make your own custom dyed ribbon...
 Supplies:
Hug Snug Seam Binding
ReInker (any kind will do)
Mini mister
Water
Non Stick Craft Sheet
Plastic Baggie
Paper Towel and extra water for clean up
Step 1: Put about 10 drops of reinker into your mini mister (If using a Distress Ink Reinker use 1 full eye dropper of ink) fill the rest of the mister up with plain water just to the bottom of the threads on the bottle to allow enough room for the mister tube to displace the water when cap is on. Screw cap on and shake it baby! you now have your own dye.
Step 2: take your seam binding (I work with pieces that are 2 yards long) and lay it on your craft sheet. And spray away...

 In this tutorial I used the new Crushed Olive Reinker from Tim Holtz. As you can see the color comes out kinda light so you'll want to spritz away until your color appeals to you.....
  Step 3: Keep turning the ribbon making sure you get all of it sprayed so you leave no white spots unless you like that sort of thing. Some do.. but I don't it bugs me to look 1/2 finished.
 I take ribbon and rub it all over my craft mat to pick up the excess spray so I don't end up wasting 1/2 a bottle on my mat that will be cleaned up and tossed in the garbage.
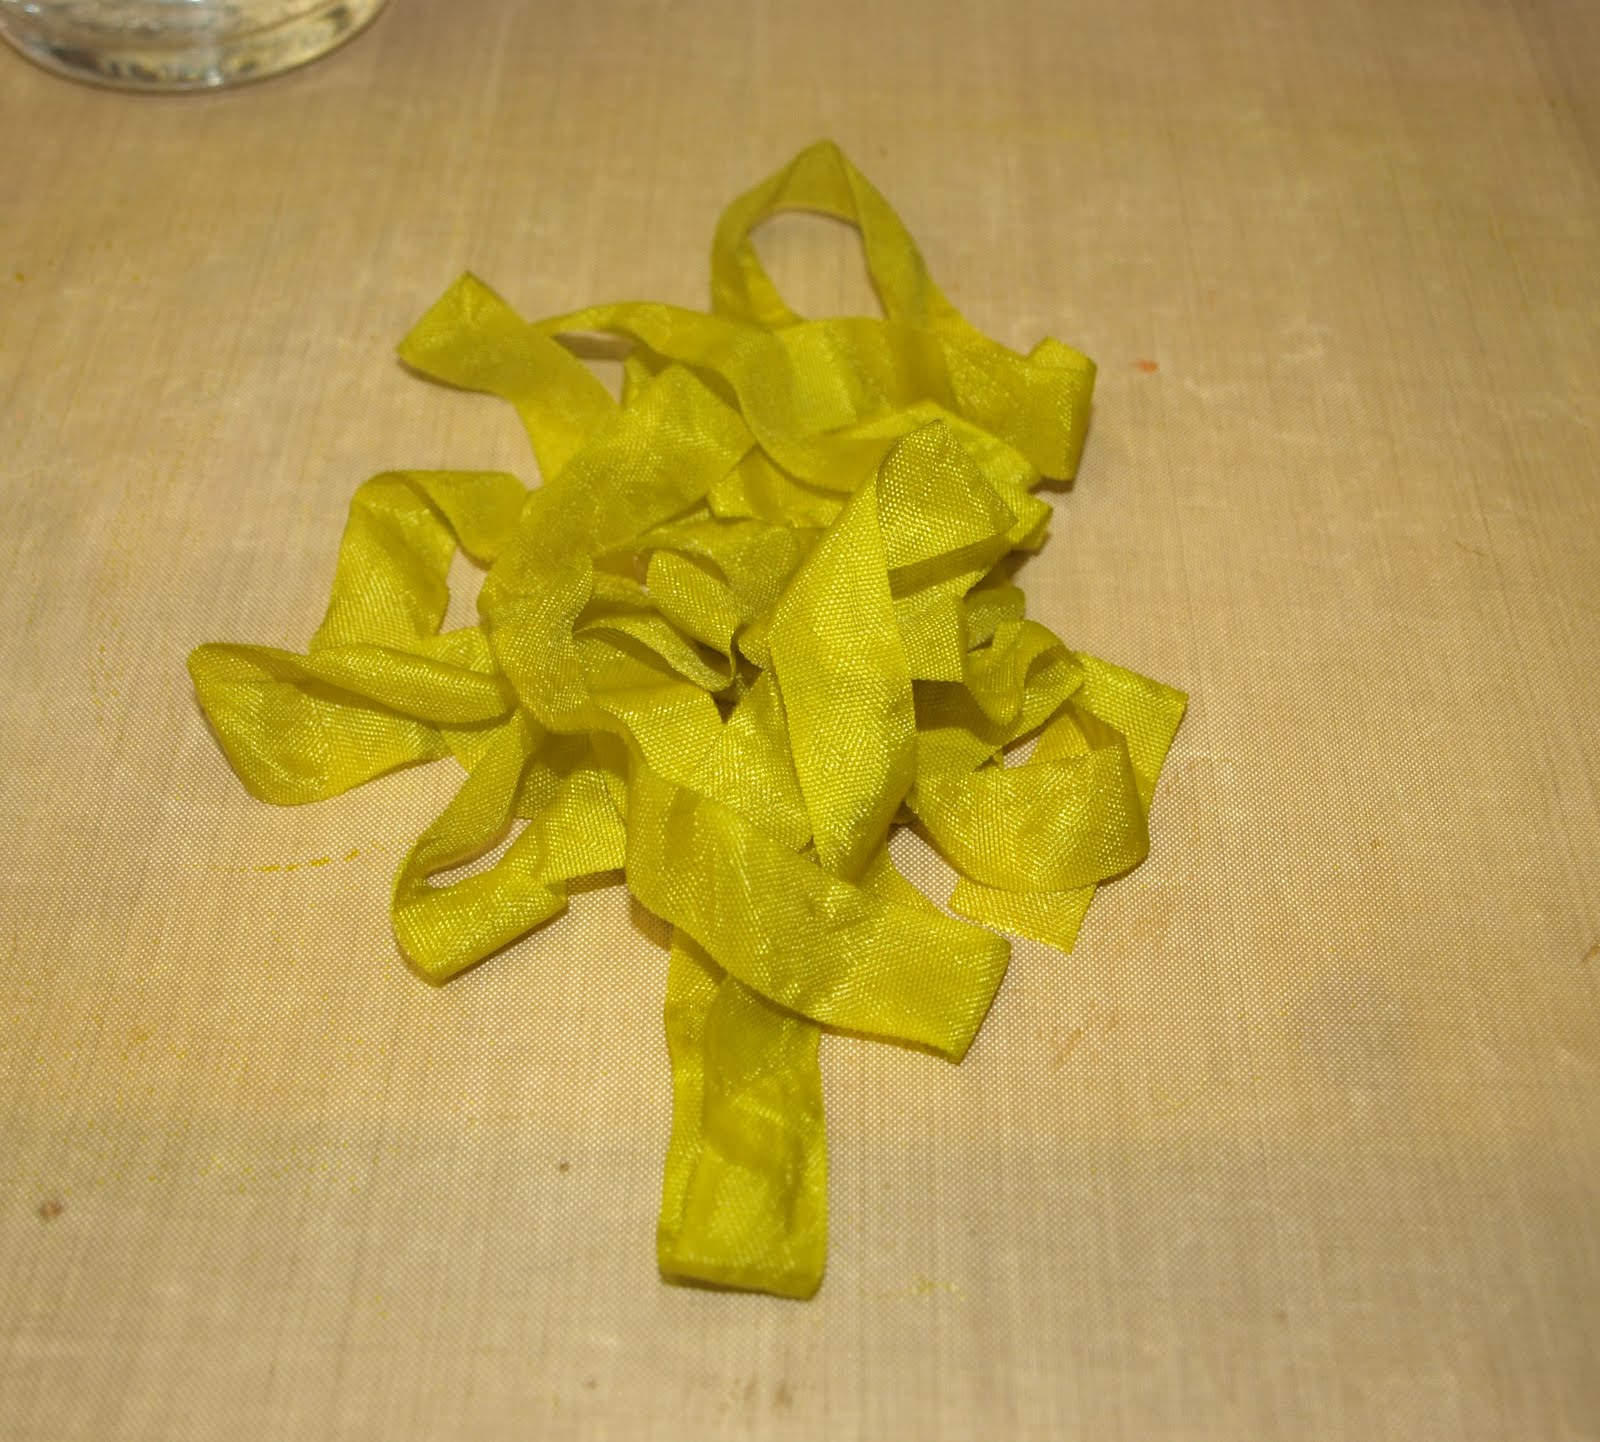 Step 4: When your color is achieved, ball your ribbon up and stuff it into the very corner of a plastic baggie... This will help ad crinkles and creases to the dried ribbon.
 Step 5: Using a paper piercer or needle, poke holes in the baggie to ventilate so in case you forget to take the ribbon out of the baggie for a couple days, you're less likely to have musty or moldy ribbon. (BIG thing!!! Don't forget!)
 Step 6: Cut the very tip of the baggie off for even more air flow. The ribbon will NOT dry overnight in a closed plastic baggie no matter what anyone tells you. Wet + no air flow = wet and musty= YUCK!
 Step 7: Set aside and take the ribbon out the next day. Note.. The ribbon will not be totally dry when you take it out of the baggie. I just take mine out and kind of loosely undo the "wad o ribbon" and let it air dry another night. You can heat set it with a heat tool but this may relax the ribbon and not leave you with the crinkles.. SO.. if you like crinkles.. don't heat it.. If you want it flat, heat away. And you can even iron it at that point if you want it flat.
So I'm sure some of you are asking.. What colors have I tried? Well.. Here's a picture of some I made yesterday.. Note these are not 100% dry but they are done up through step 7.
Blue: Distress Ink in Tumbled Glass with some Adirondak in Stone Wash
Purple: Close To My Heart Hydrangea
Orange: Orange Brilliance (has a pearl shine)
Pink: Distress Ink in Spun Sugar
Red: Cherry Red by Memories
Brown: CTMH Chocolate
Yellow: Wild Honey Distress Ink (this is my new favorite color!)
 I hope you'll try out my tutorial. I'd love to see what you make!
 Now go get inky! :)


4 comments:
Oooh, look at all the pwetty colors! Would love to see what you do with them. Can even imagine them rolled into little flowers. =)
Thanks for sharing the tut! You're brilliant! =)
*hugs*
this is awesome! Will definitely have to try it soon...
Love all those colors of homemade ribbon! And thanks for the tutorial. Question - where do you find that Hug Snug Seam Binding???
thank you so much for this tutorial. i had saved it to do when i got my seam binding and i just received it yesterday. time for me to mist and make my ribbon.
thanks again.
Post a Comment